Wednesday, August 24, 2011
The Little Tooth that Could
Friday, August 19, 2011
School Supply Cake Tutorial


 13.) Now at this point if you have a cup or pencil holder you will need it for this next step. I didn't want to have to purchase one so I'll share with you what I used instead. I found spare bolt of fabric in my closet and used the cardboard center roll to make my own pencil holder. Free is always better than spending more money!
 15.) Next I traced around a scrap piece of cardboard to make the base for the pencil holder.


 19.) Take the pencil holder/glue stick section and secure it to the top of the paper towel roll. (I used hot glue because I was afraid it would not be as secure with tape.)
 20.) Roll pieces of tape and place on the top of the cardboard circle. (It's hard to see mine since it was clear.)
21.) Place the supply cake body on the cardboard base.
 22.) Starting at the top section, cut a piece of ribbon long enough to go around the pencil holder. This is where the rubber bands come in handy because they help hold the ribbon in place.
23.) Place a dot of hot glue on one end of the ribbon and secure the other end to the glue.

24.) Continue to cover the rubber bands with ribbon, layering ribbon as you like.
25.) Tie bows and glue to each section where there is a ribbon band.
26.) Glue the gerber daises to the bows and add the pencils to the pencil holder.
 And there you have it...your very own school supply cake! I'd love to see your creations. You can e-mail them to me at leighanne@elmore.rr.com
Tuesday, August 16, 2011
First Day of School
 Georgie and Jack heading in to school Monday morning. Georgie was so sweet telling Jack not to be scared, that he was going to love the big school.

Monday, August 15, 2011
Kami's Baby Shower
 Saturday morning a great group of Kami's friends and family showered her with a "feather the nest" baby shower at my house. It was such a fun way to celebrate the upcoming birth of Baby Girl Scarborough. Now all we need is that sweet little girl to make her appearance!!

 I painted a canvas banner that we used to welcome guests to the shower. Kami can also use it to hang on the hospital door when Virginia Kate arrives. We also got a pink bow that she can use on their mailbox to let their neighbors know when she arrives.
 Melissa H. made this sweet and girly pink feather wreath that Kami can put on her front door.
 Super cute bird nest corsage from Etsy.

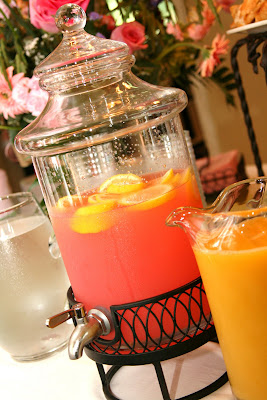
 I love the way the table came together! Mrs. Rit made the beautiful flower arrangements and the girls did a wonderful job on the yummy food!
 Melissa J. made this adorable watermelon baby carriage. She did a great job and it was definitely a big hit!
Thursday, August 11, 2011
Ready for School
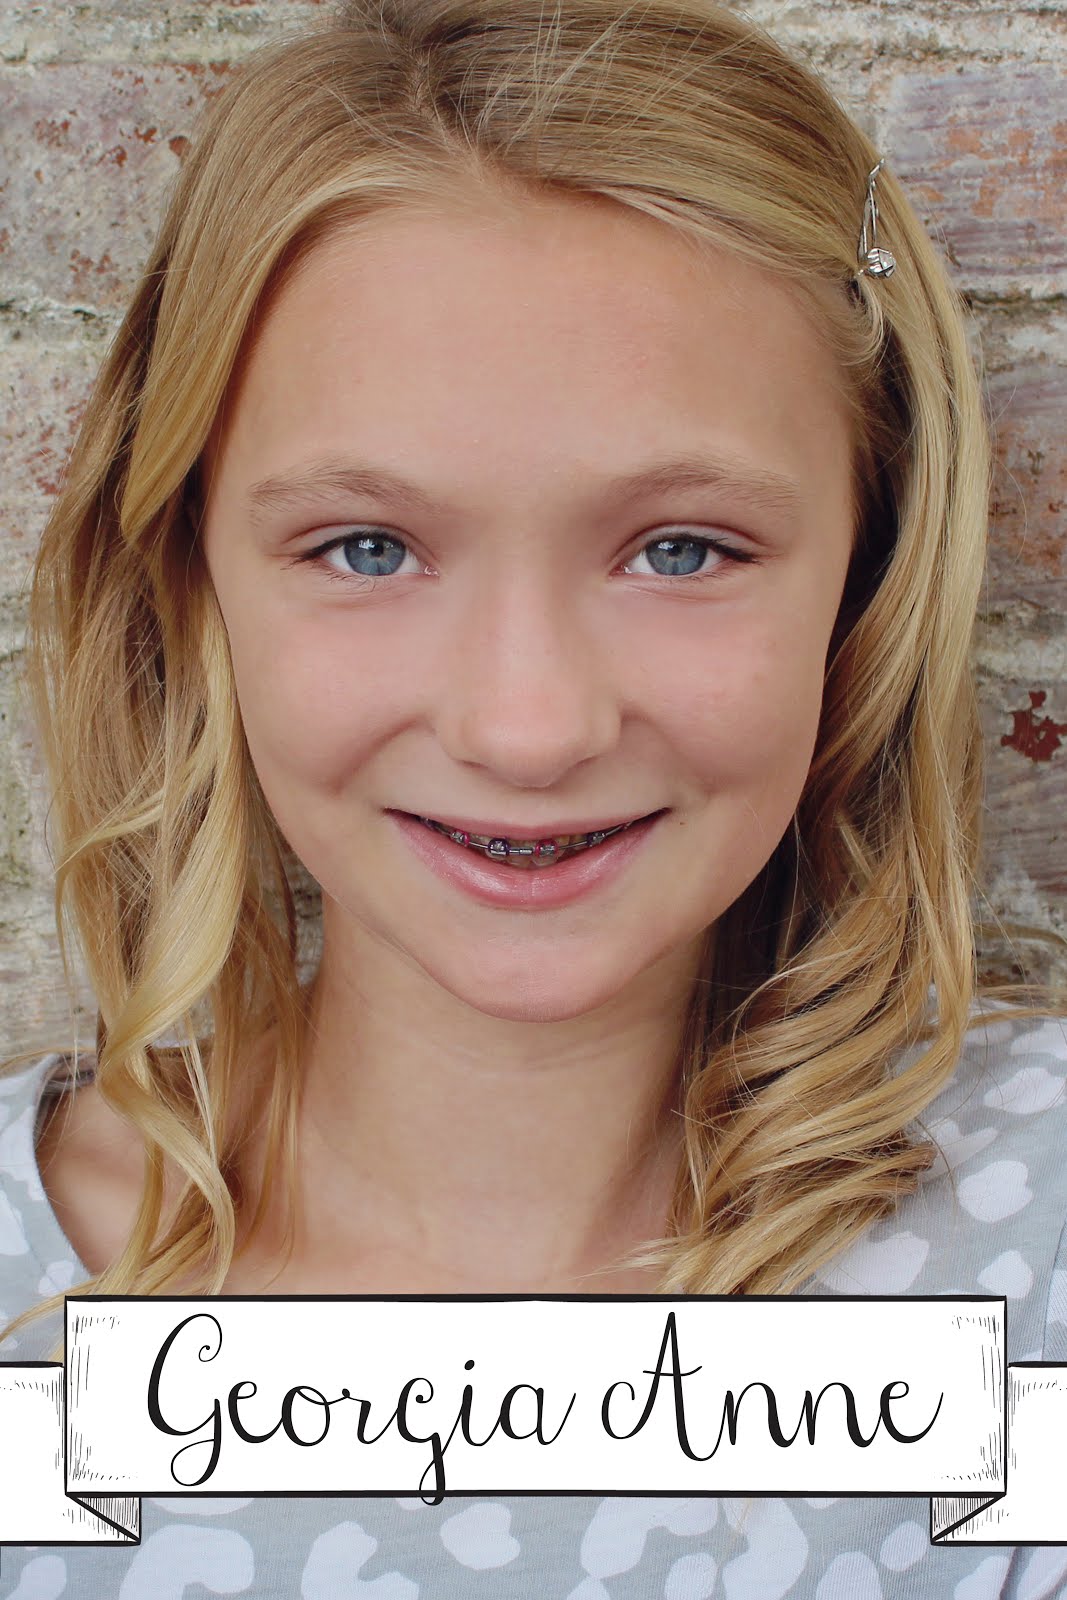
 Georgia Anne is going to be in the second grade and her teacher is Mrs. Yankey. We are very excited about her teacher and she is very excited because she has a slue of her friends in her class this year. She is a lucky little girl!
 She found her desk and was so happy because she was behind Caleb and in front of Kylie. I think it is pretty safe to say that Mrs. Yankey will have to make some seating adjustments.
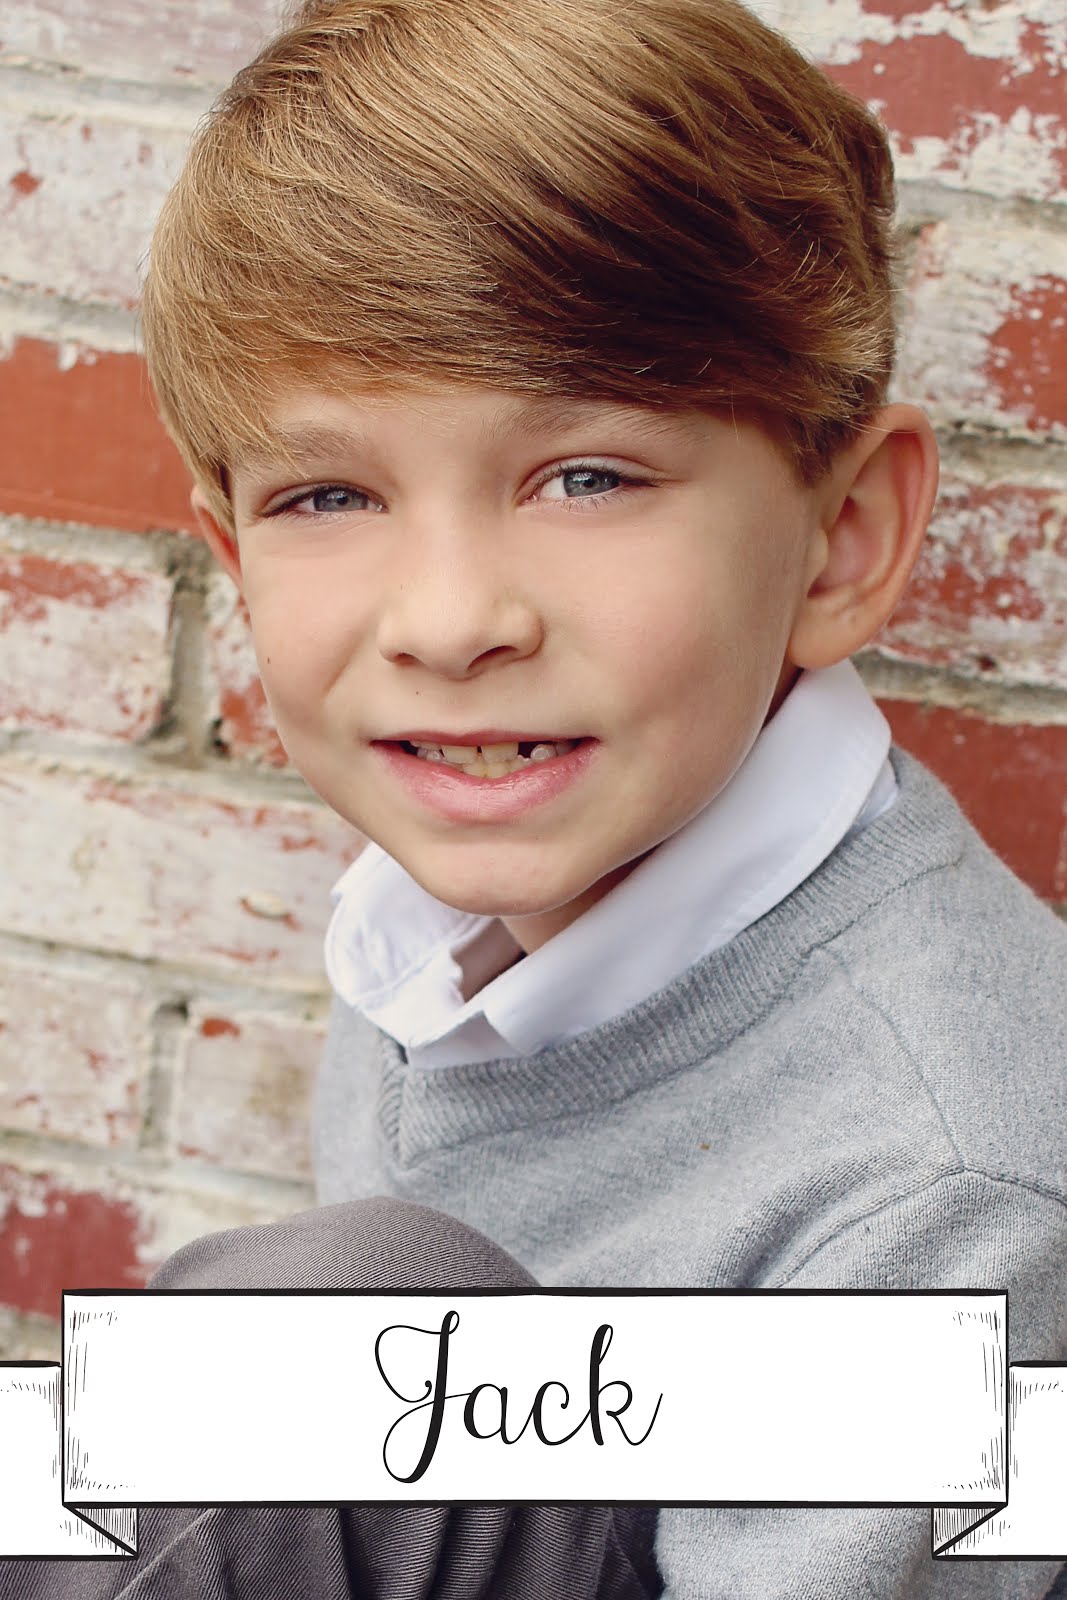
 Jack with his two teachers, Mrs. Creel and Mrs. Collins
Jack is also lucky because Mrs. Paulette and Mrs. Kristen from church are classroom instructional assistants. They both like to love on Jack....which he LOVES!
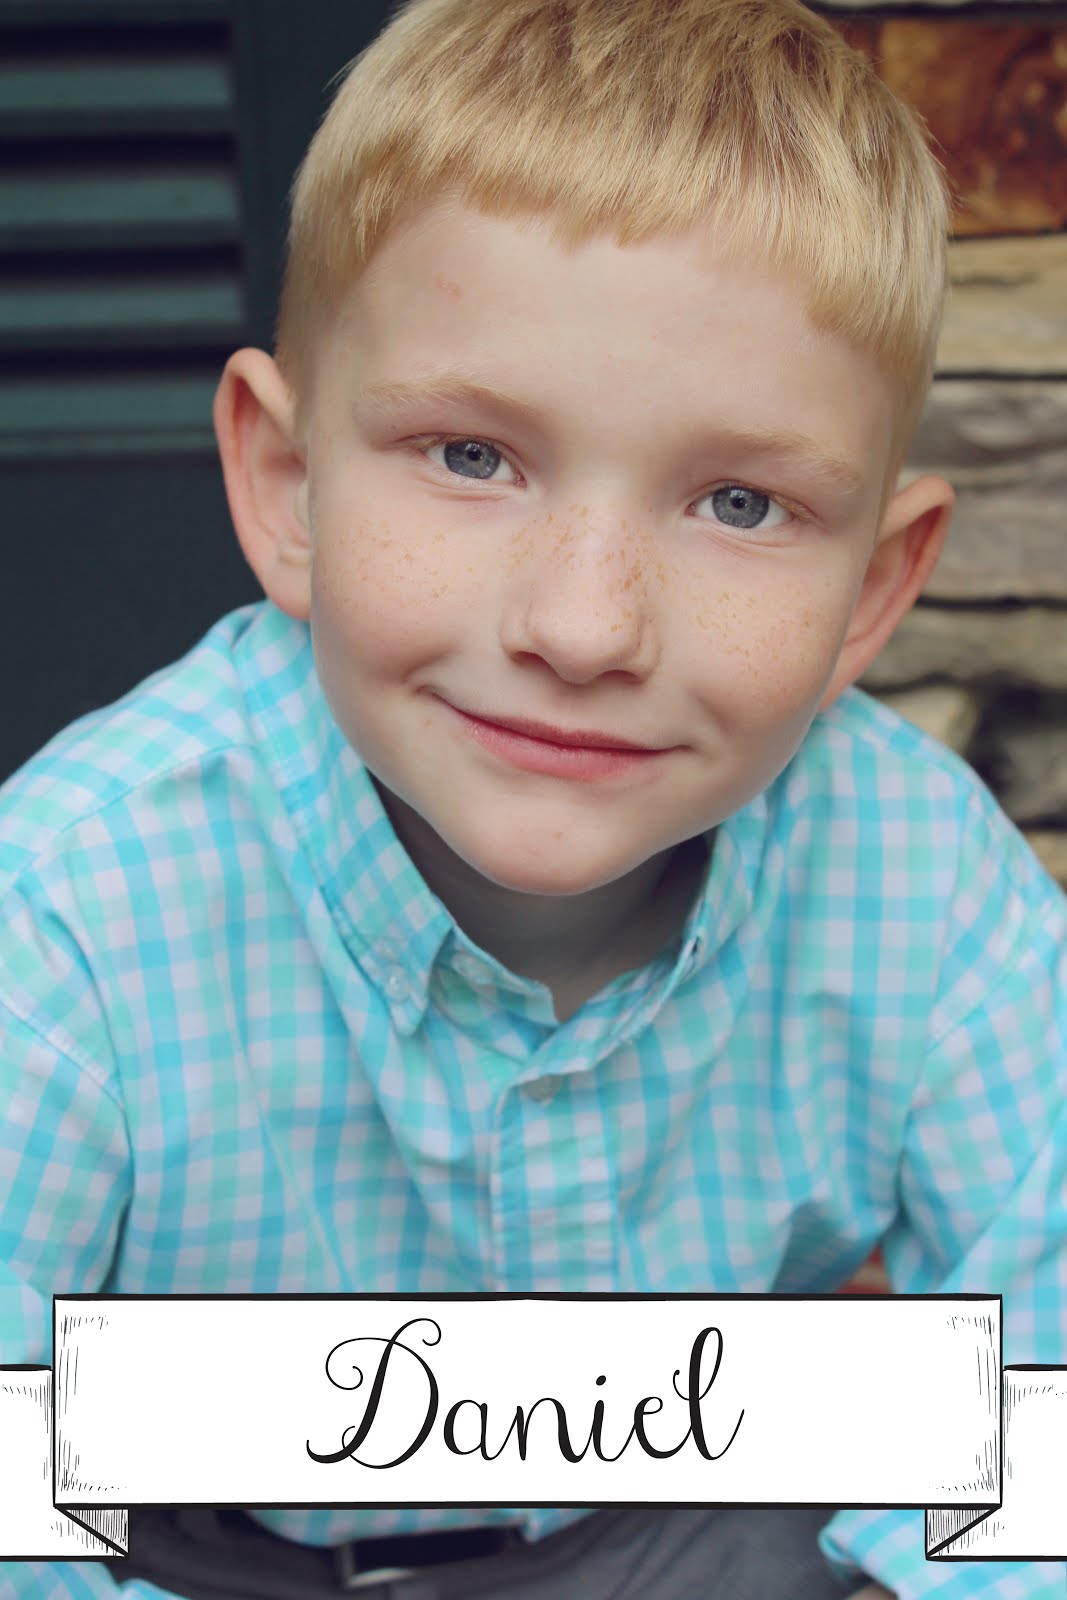
 Little D-Man is movin' on up to the 2 year old class at First Baptist. Mrs. Stephanie is his teacher and is super sweet!
 I made a school supply cake for Mrs. Yankey. It was easy to make and can be taken apart and really used. It was all assembled with rubber bands, except the ribbons, which can be cut to get to the supplies.
 Football Program Ad

Wednesday, August 10, 2011
94 Years Young

My sweet little Granny turned 94 a few weeks ago. WOW! Granny is truly one of the kindest, sweetest people you will ever meet. She is what everyone dreams a Granny should be. So many children don't have or know their grandparents, let alone their great-grandparents. My children are so blessed to know their Granny and love her like I did when I was little (and still do).
Happy Birthday, Granny!


