With the school year coming to a close, I was in need of teacher gifts...a lot of teacher gifts (when you have three kiddos they add up fast). I came up with this photo frame that was pretty easy to make and fairly inexpensive. I ended up making 13 frames for around $2 each and it took me a few hours from start to finish to make all thirteen. (I did have some things like paint, glue and the stamp pad on hand already so I didn't figure that into the cost.)
Here's how you can make this frame:
Materials
1"x8" Pine Board (length depends on how many frames you need. I used an 8' board and got 13 frames)
Dowel Rod (I used an 5/16" because I had that size drill bit)
Clear Plastic Glazing (plexi-glass)
Paint
Sand Paper
Brown Stamp Pad
2 1/2" wide Burlap Ribbon
Carpet Tacks or Small Nails
Glue Gun and Glue Sticks
 |
1.) Start by measuring out 7" increments on your pine board and cut at those points.
2.) Sand with a fine grit sandpaper until all surfaces and edges are smooth.
3.) Paint all surfaces. I used Benjamin Moore's
Dove Wing (OC-18) in a satin finish.
4.) Sand all edges exposing the raw wood beneath the paint.
5.) Using a brown stamp pad, run it along the edges to darken the exposed wood until you have covered all edges like in the photo below.


6.) On the back side of the board, drill a hole careful not to drill all the way through the wood (I used a 5/16" drill bit). I centered the hole and came up 3/4" from the bottom of the frame. |
 |
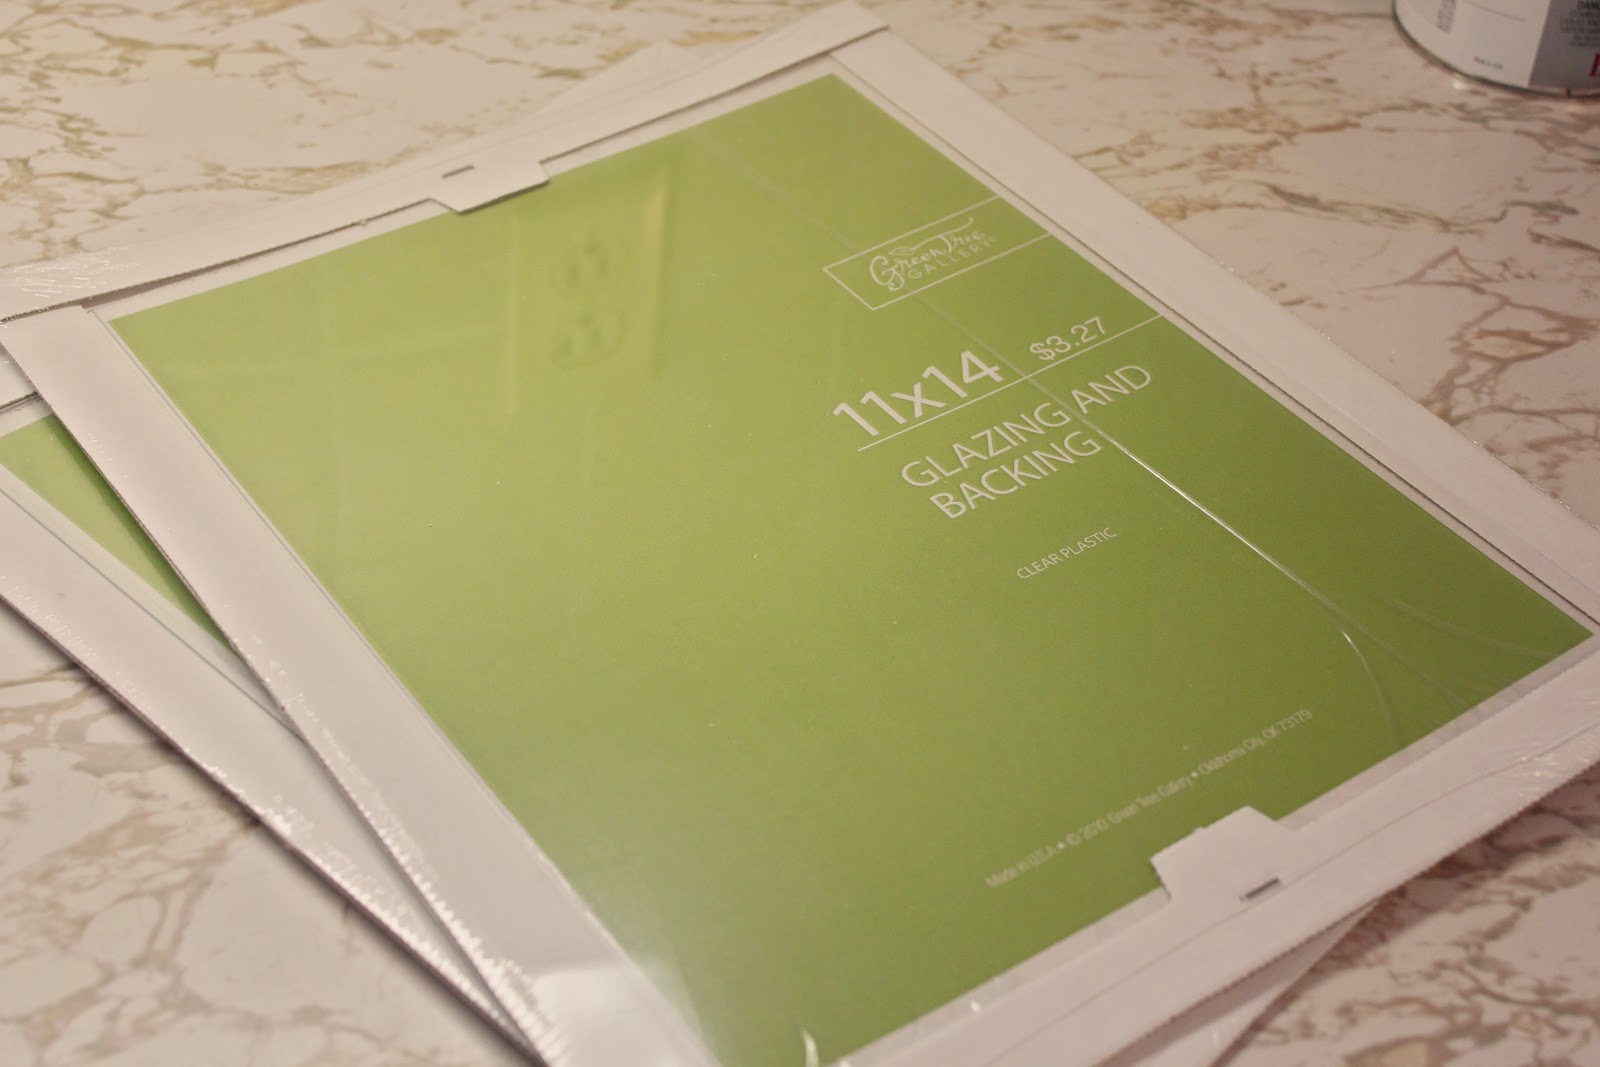
| 7.) You can purchase plastic glazing that is pre-cut to 3 1/2" x 5" or 4"x6". If you do this you can skip to step 10. I chose to purchase (2) 11"x14" pieces and cut them down to 3 1/2" x 5" to save a little money. I purchased these at Hobby Lobby for $3.27 each and was able to get 8 pieces from each sheet. |
 |
| 8.) Measure and mark off where you need to cut. Each piece of glazing came with a protective coating on each side so I was able to use a marker to make my cut lines without having to worry about the lines showing after I made the cuts. |
 |
| 9.) Using a ruler and a sharp Exacto blade cut along the lines. Once you have good score lines you can snap the plastic to complete the cut. |